For What Its Worth
Coil Over Spring kit for the front end
My car has been riding well with all the mods added
to the suspension. The only picky point I had was the stock
style shocks. Choice of shocks is very limited for the front end
on these cars and it would be nice to have a much better shock.
An opportunity came to purchase a very lightly used set of QA1 shocks and
springs and I took it.
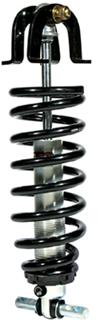
I believe the kit I have is the 6267COK-SA kit sold by CPP, Classic Performance Products for the 1st and 2nd gen Chevy IIs. The spring is designed to fit in the stock upper spring bucket. The notes I found on Steve's Nova Site shows the spring has a 325 pound rate. The upper mount has 2 U shaped plates that replace the stock spring mounts.
The shock itself is a Single Adjustable QA1 shock. Single adjustable means the adjusting valve on the bottom adjusts the firmness of the shock in both up and down directions. A double adjustable shock has 2 adjusting valves one for the up and one for the down motion. QA1 reports there are 18 adjustments. I could turn 12 clicks easily by hand on these. I set them to the seventh from the bottom position for a street ride. Since the Chevy II is such a light car and I don't intend to do intense road course racing this setting is probably very close to what I need.
The car height is adjustable by turning the adjusting nuts on the bottom. Don't forget the special wrenches for the adjusting nuts if you decide to add Coil Over shocks. The wrenches don't usually come with the kits. Threads appear to be 8 threads per inch.
The set I bought had the upper round end replaced with a bayonet or "stud" end so it would work with the stock shock towers. QA1 number for the stud is SS110SDM. The previous owner had gone to the extra expense of getting the end adapters. I like it that way so I left it. I did not need to use the round upper mounts that came with the kit, the stock shock towers were fine.
A few tips on the install. This is not a detailed step by step list.
- Jack up the car and let the wheels hang. Put jack stands under the frame, not under the a-arms.
- Remove the stock shock. The upper shock mount must come off to get the shock out.
- If you have the stock springs and upper spring mounts, look for the tab from the upper spring mount poking up through a hole. You can see it when you remove the upper shock mount. It needs to go back together this way.
- You will need a spring compressor to get the stock springs out. I do NOT suggest knocking the bolts out of the lower spring mount and letting it pop out. This could be dangerous. Also the bolts in the lower spring mount are pressed into the mount. They don't come out easily. Trust me a spring compressor is faster.
- Make sure the spring adjuster is all the way down when installing the shock and spring. You should be able to get the lower mount bolts in without the need of a spring compressor.
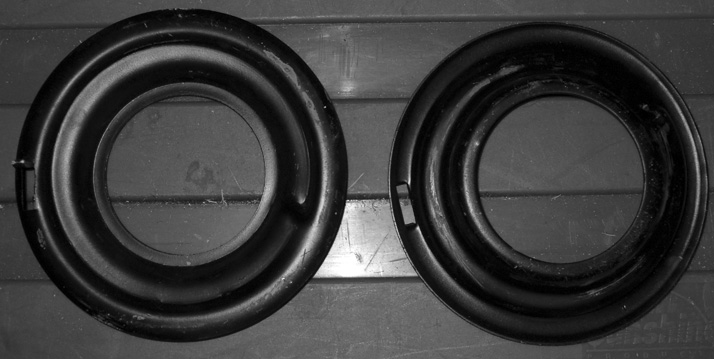
- Make sure that the spring is oriented correctly in the upper spring bucket. The stock upper spring mount has a sheet metal tab that fits in a hole in the upper sheet metal as you put it together. The tab keeps it from spinning and spring pressure holds it in place. The upper spring mount has a bump/slot for the open end of the spring. The picture below shows the top of the mount with the tab on the left. The right side is the spring side.
- My upper spring mounts are bolted in with a single screw. The screw is thru the top sheet metal, where the tab went thru. No problem with them falling out or getting out of position as I assemble everything. If you add a screw to hold the upper spring mount in place, be careful where you put it. It should not be anywhere close to the spring. A nick from a screw can cause a spring to crack and fail eventually. As I snugged up the adjusters I turned the spring until it was in the spring mount correctly at the top.
- When putting the spring and shock in, make sure the end of the shock is in the middle of the tower, don't let it get hooked under the lip of the upper spring mount.
- Once everything is bolted in, adjust the spring height. It can be done with the tires on in most cases, but you need to jack the car up to let the wheels hang down and minimize pressure on the spring while adjusting.
- Mark the adjusters so you can count the turns as you adjust. White or yellow crayon or paint. It makes it very easy to count turns when you can see the mark go by.
- To set the height of a Chevy II, you measure at the front and back of the rocker panels. The bottom of the rounded edge. Do not measure the seam used to weld the car together, it varies too much. After you have the car off the jack, bounce it and roll it back and forth a little to get it to settle. Then you can measure. My rear sets at 10.5 inches with the tires and springs I have. I wanted to set the front to about 1" lower or 9.5", Initial setting to get this height was 10 turns from the bottom. about 2 1/4 inches from the bottom.
How do I like the result. I like the ride very much. The spring rate fits the car well. If I want to change the ride of the shocks or car height, it is a simple adjustment.
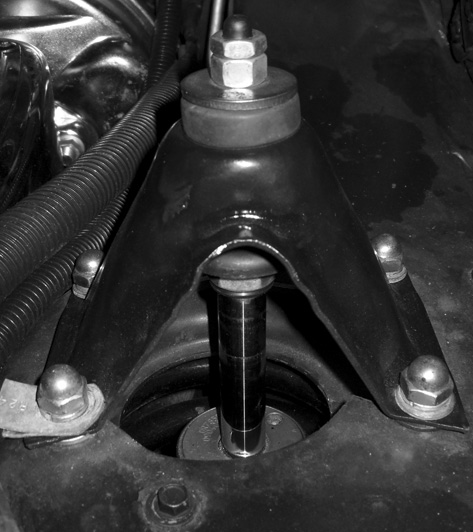
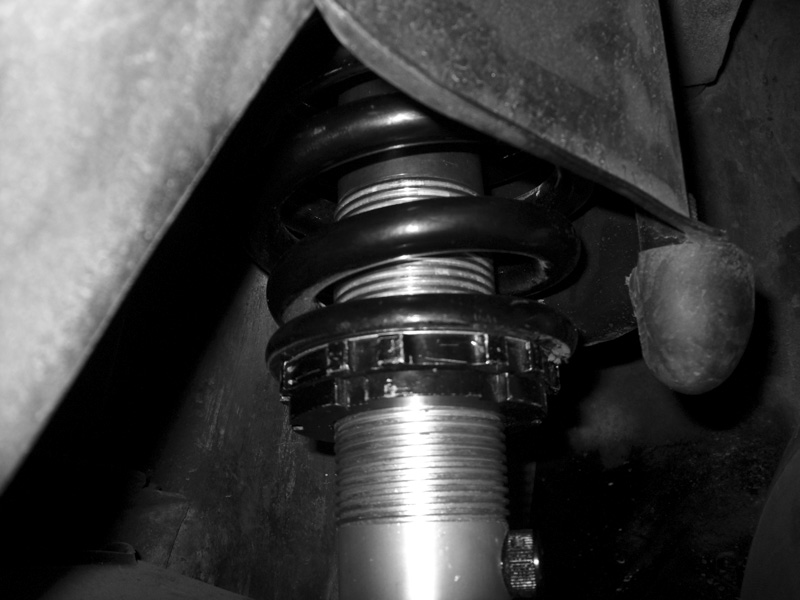
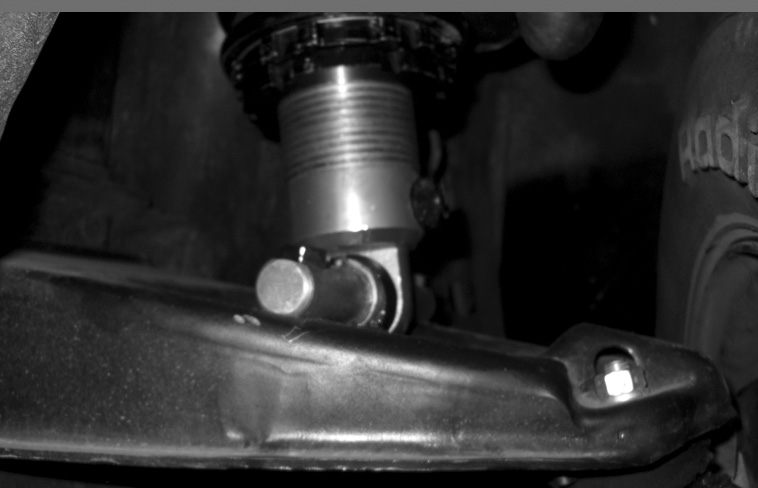
Some pics of the installation.
Lower Bushing Replacement
The lower bushing on one of my shocks had to be replaced. The shock kept overcoming the snap ring and slid sideways on the shaft. This caused front end vibration. In examining the problem the bushing had a soft spot on one side or air pocket. This added a side load stress on the connection and caused the problem.
I ordered new bushings from QA1. No problems with the new bushings, but the installation was a small puzzle.
The bushings are fairly stiff, so pushing it in by hand was not an option. A vice had to be used. I got the taper on the end of the bushing just lined up with the hole and used a vice to squeeze it in. Make absolutely sure it is started all the way around before adding much pressure. It slid in, the center of the bushing was stiff enough not to collapse. I then used a large socket on the side of the shock to let the bushing come the rest of the way through. This mimics the way QA1 support said they do it. They have something that looks like a small piston ring compressor to compress the bushing and use a press to push it into place.
Created Sept 2011