This was my first big project with my Prusa printer. I wanted a durable O scale, 3 rail, Tank Engine for the grand kids. Also one that would smoke. I had a modern conventional "Thomas the Tank" offered by Lionel. Low pulling ability and the grand kids wanted it to smoke!. I used it for a few parts.
I found this LNER J50 on printables.com. Craftynerd did a good job. There are locations in the model to add the handrails, whistles and many other details. This was for HO scale and needed modifications for me to use. The final version has fixes to simplify the final assembly. See the notes on the final version.
I needed to scale the parts up. 87/48=182% scale factor in the Prusa Slicer I used. Warning. The dimensions I show are for this slicer, precision .stl files, and the filaments I used. To get press fits, custom adjustments must be made.
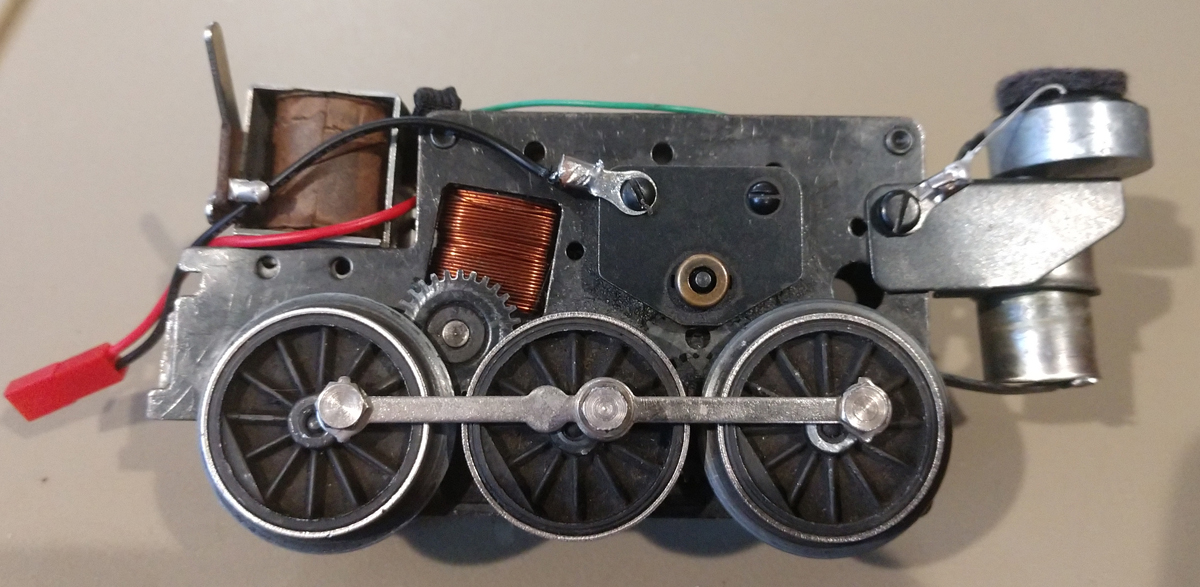
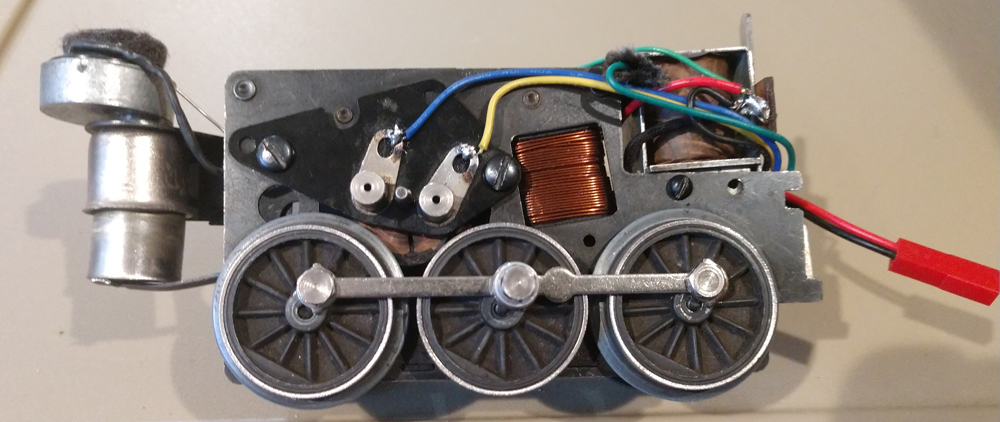
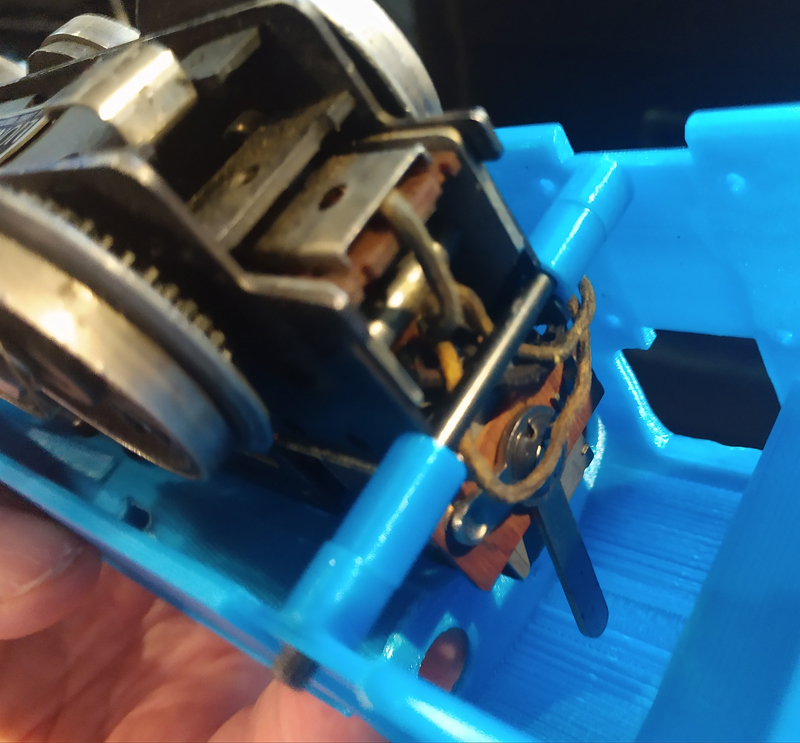
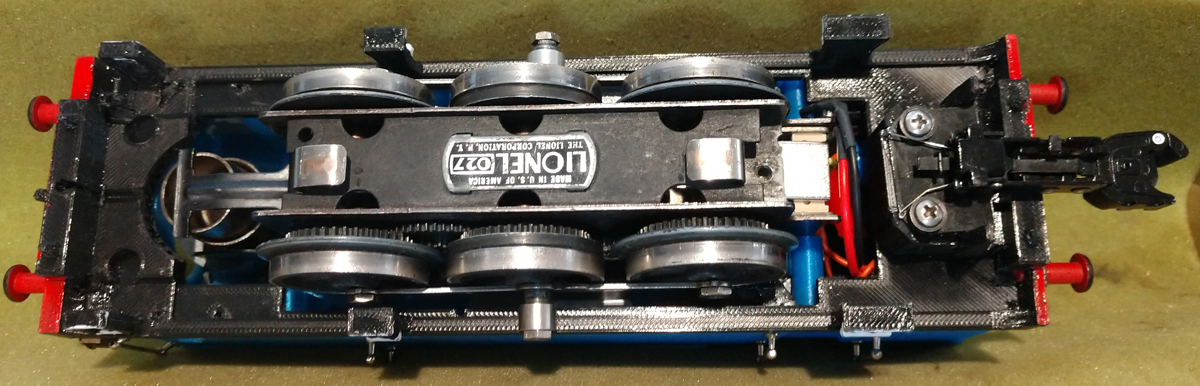
That is great, but what about the motor I was going to use? After looking at the options, I found that an early version 2026 motor from Lionel would work. This has the Smoke unit and pump attached to the motor. I found one with a good motor and a beat up casting for a low cost. Kept the engine, smoke unit, mounting screw and mounting bar.
Motor prepared for final installation.
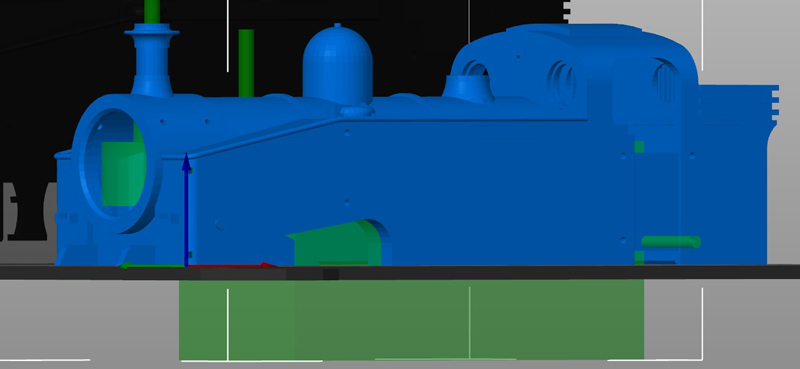
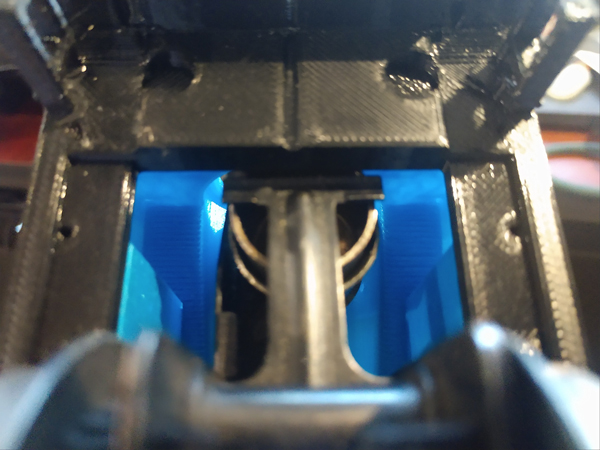
This shows the clearance model subtracted from the top model in the slicer. The top and Bottom both had the clearance model subtracted.
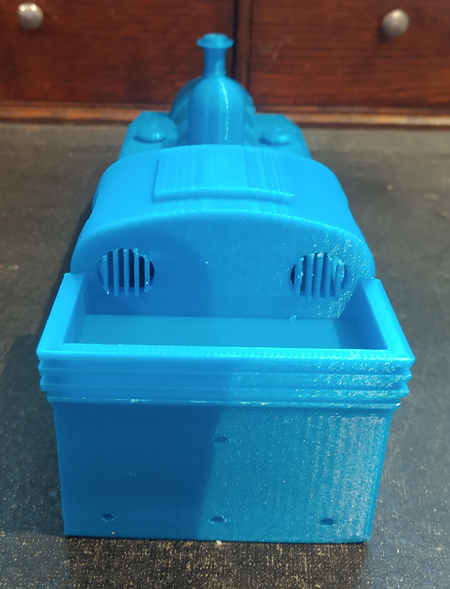
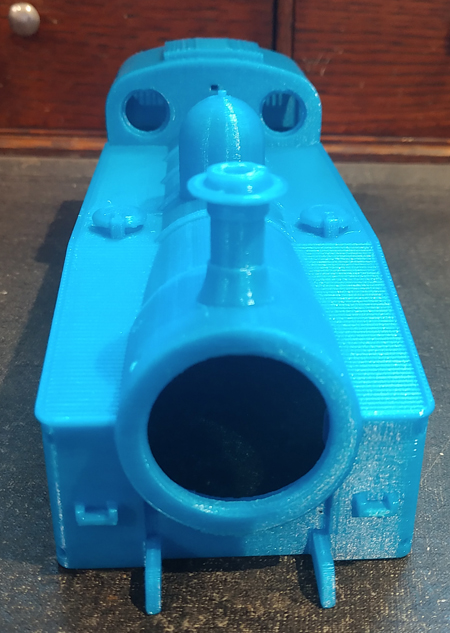
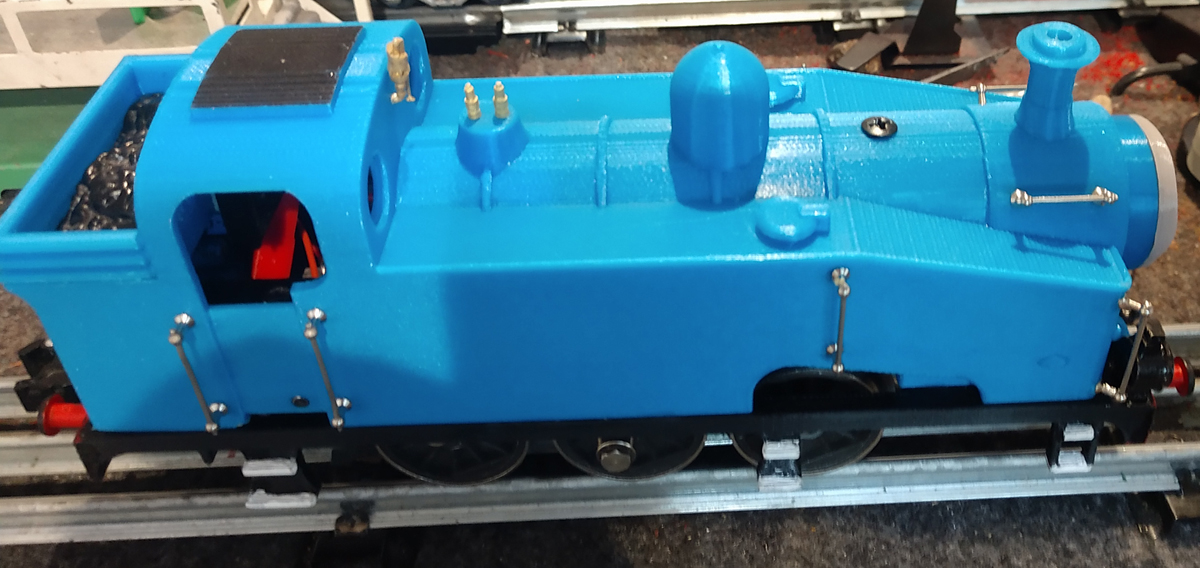
I printed the bottom, bottom push blocks and steam chest covers in black PLA and the top in Azure Blue PLA. I printed one color at a time. I had an enclosure when printing the top. It took 17 hours, best to have a constant environment. Scaling up the model made removing the supports easier. It still took about 40 minutes and care, especially around the "grated" back windows. Part of the front inner wheel opening detail that came to a point was lost for the clearance. I chased the 2 holes for the mounting bar with a .125" drill. Be careful, they are close to the edge.

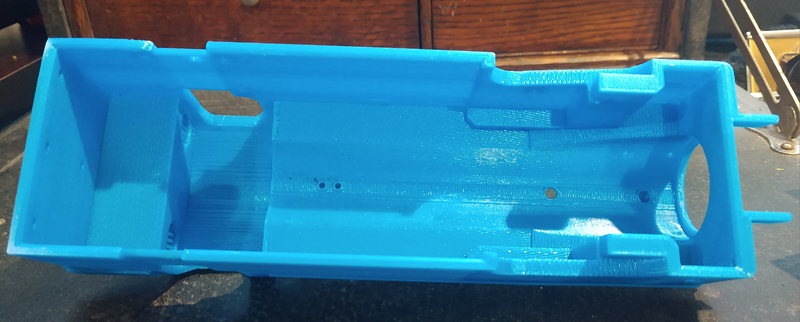
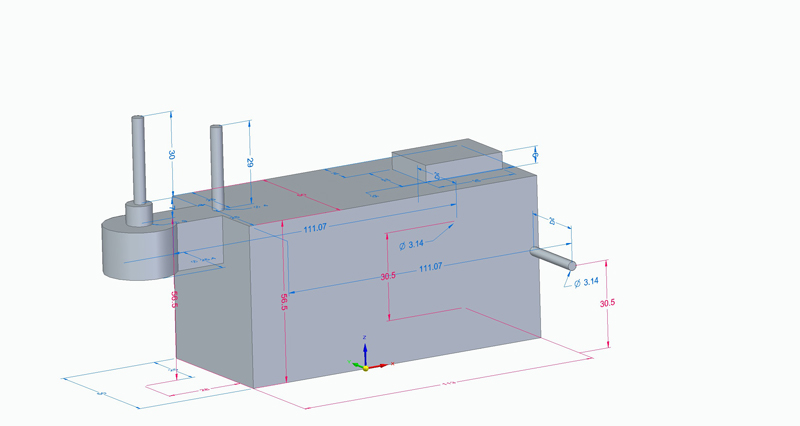
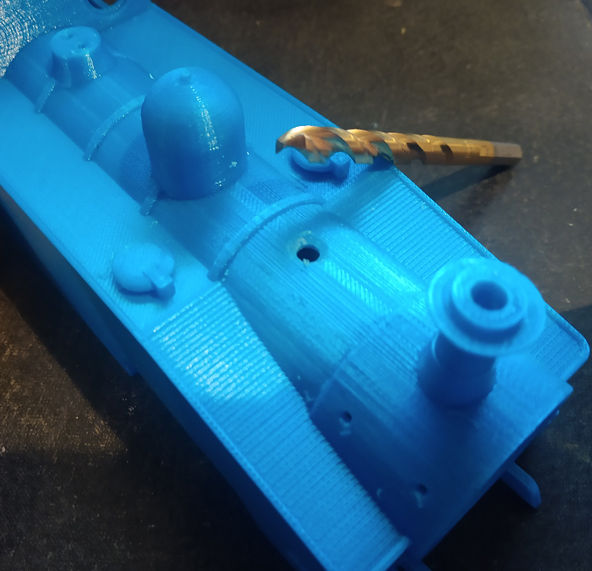
Adapting to fit the motor
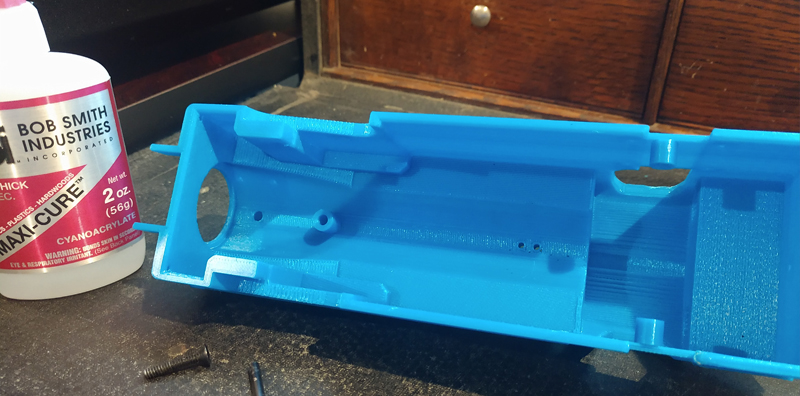
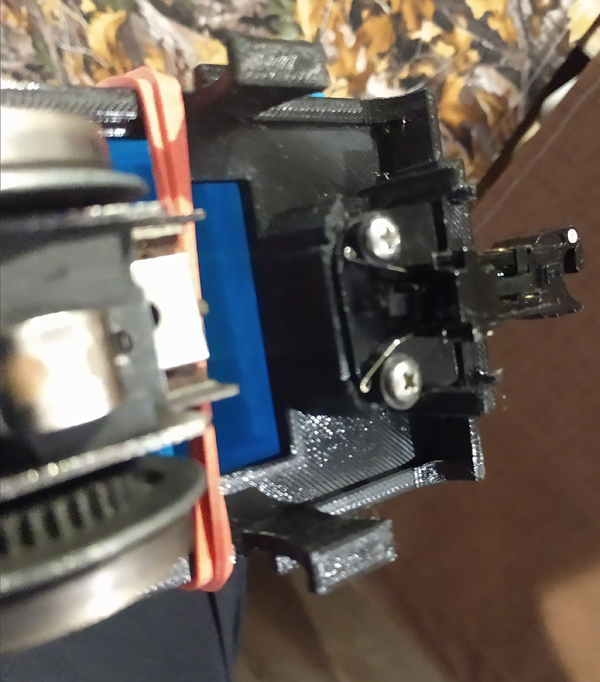
After test fitting I found I needed a 8.5 mm tall post with a 4 mm hole for the top screw. 2 of the 7mm diam x 6.5mm tall posts with a 3.25mm hole. I used thicker walls. The mounting rod was too short without these side posts. I drilled these 2 side posts out using a .125" drill so the mounting rod fit snug. I fitted and glued them in with thick super glue, shown. 3 hours later and they are super strong. These posts are now part of the model in the final version.
To correctly space the engine, I need 2 bushings, 8mm diam, 4 mm hole, 8mm tall and another 11.5mm tall. These are used to space the engine correctly. Because of the gears on one wheel set and not the other, the engine is offset 3.5mm. These are not glued, but can be to hold them in place. In this assembly the mounting bar once installed is almost permanent. The plastic holds on tight to the bar. With the proper fiddling the motor can be installed or removed with the bar in place. Make sure these bushings are installed on the correct side when inserting the bar. You may not want to remove the bar after installation.
And for the top screw, a 1/4" drill (6-8mm) by hand cuts a good counter sink for the mounting screw. The counter sink is now part of the final definition in the .3mf file.
Sadly I must have measured the motor with the pump bar in the up position. It needed a little more clearance. This was added with a Dremel tool. See final pictures. The proper relief is in the final models.
A whistle! (more like a horn)
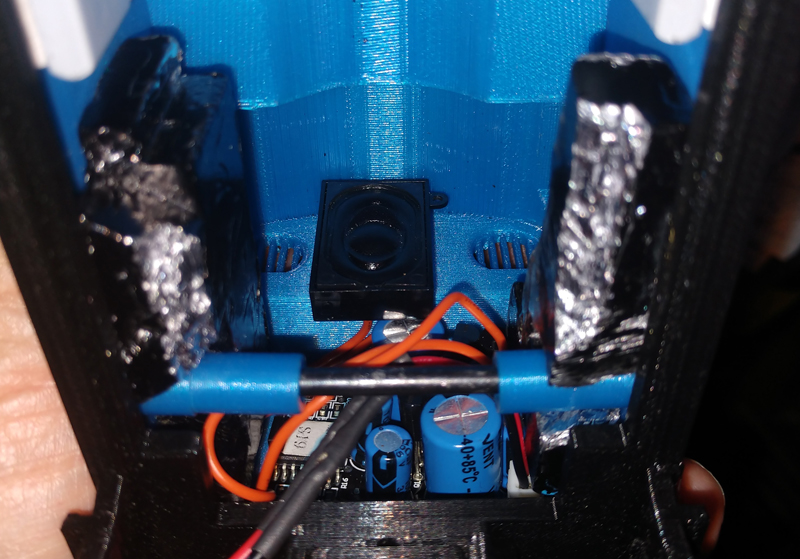
I wanted to use the whistle from my old Thomas the Tank Engine, it was "free" to me. I removed it an prepared it for the installation.
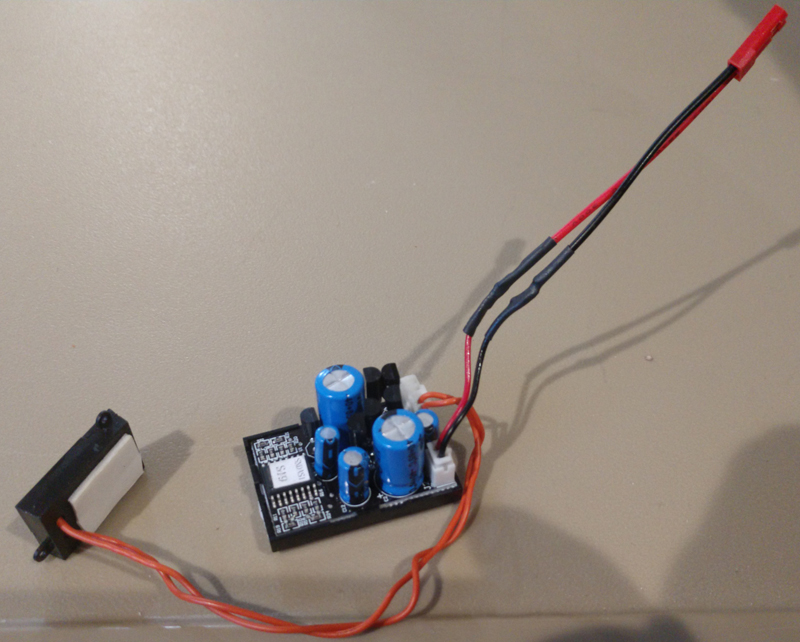
A little double back tape for installation. With the speaker in the wide open, the sound can barely be heard. A fix is needed.
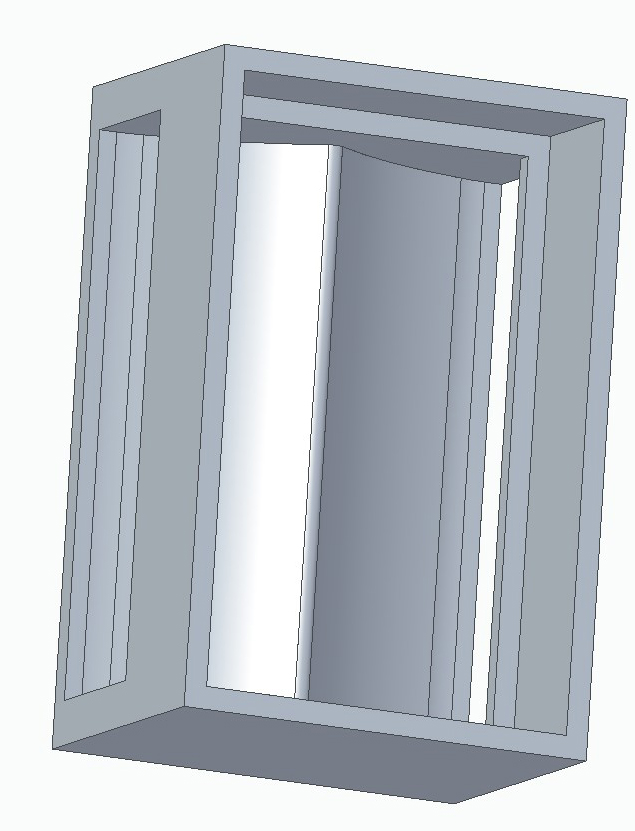
A cone or box is needed on the speaker to keep the sound from dissipating in the un-contained air. I made a speaker box with a recess that snaps on the current speaker mount. I clipped off the 2 mounting tabs on the original seen in the picture above so it fits. It has a depth of 8.3mm above the speaker. I make these 14mm tall with a 5.7mm inset to snap over the current box. If any taller they interfere with the E unit switch. It is a tight fit now with the speaker box installed.
Make sure the double back mounting tape does not cover the air hole around the back of the speaker. Blocking it decreases the efficiency.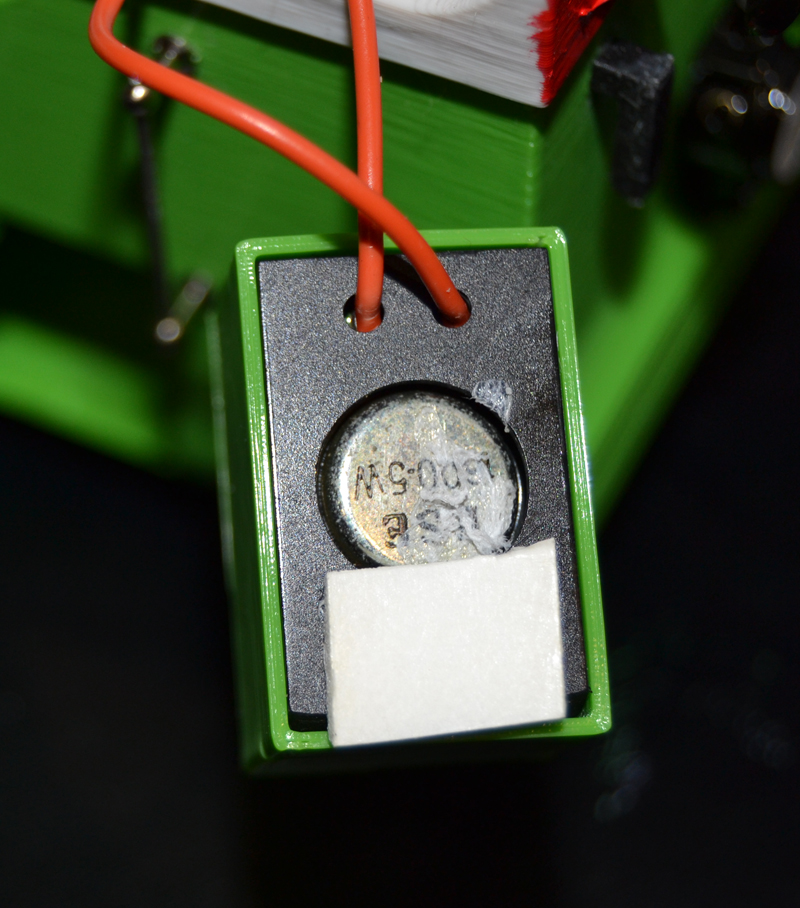
Applying a little bit of acoustic engineering now makes the horn loud enough to be heard.
I made the speaker box with side ports exiting out the sides/windows directly. It isn't louder, but seems to carry better.
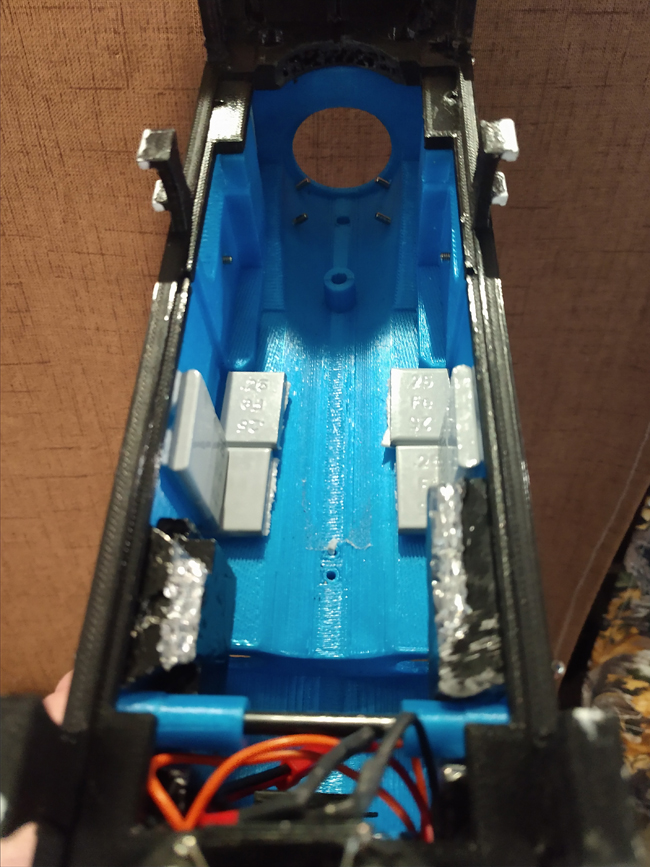
The shell is plastic and light. It needs some weights. There were also some weights in the old engine when I removed the whistle. A little modification and they were ready to go. The depth of the notch was increased on the left, it is used on the "wide side" of the motor clearance. The right side need the notch widened and about 1/4 of the weight cut a way. A cold chisel cuts the led well.
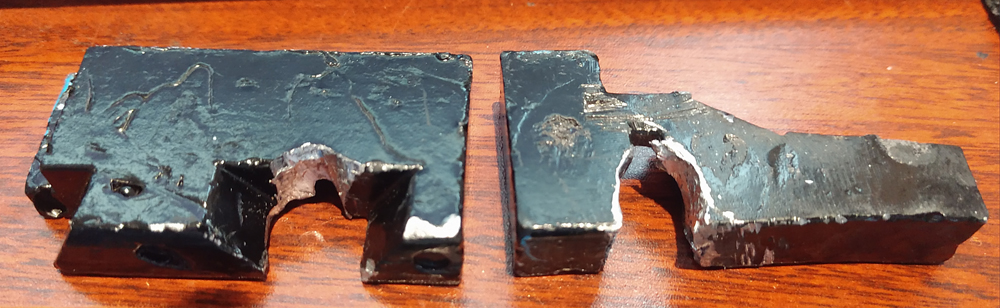
The weights installed, with a few more ounces of stick on weights. I had to add a drop of super glue for the shell side of the double back tape. The double back tape worked initially, but tended to peal off of the shell over time. The lead weights were super-glued in also.
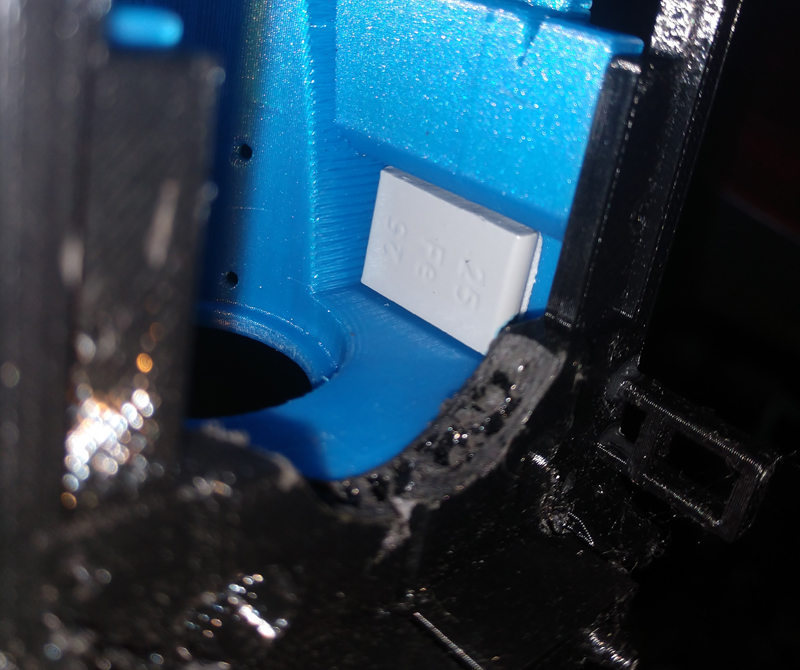
You need to shorten the threads on the 4 stanchions that go in the steam chest. They run into the smoke unit. I used some wire cutters to trim them after they were in. I have big strong hands, you may want to do it before installation. This shows the one side trimmed.

There needed to be a little more clearance for the rear wheels. The cuts look rough since I had to cut while installed, Double check before gluing. Speaker cover is not installed in this picture.
I added some stick on weights in the front pockets also. I don't want the engine doing a tail stand. You may want to put these in after adding the hand rails if you use the same parts I did. The need to fit between the hand rail holes. This also shows the area I had to grind away since I missed accounting for the lower part of the smoke unit on the first model.
Smoke Box Cover
The smoke unit took up a lot of the smoke box.
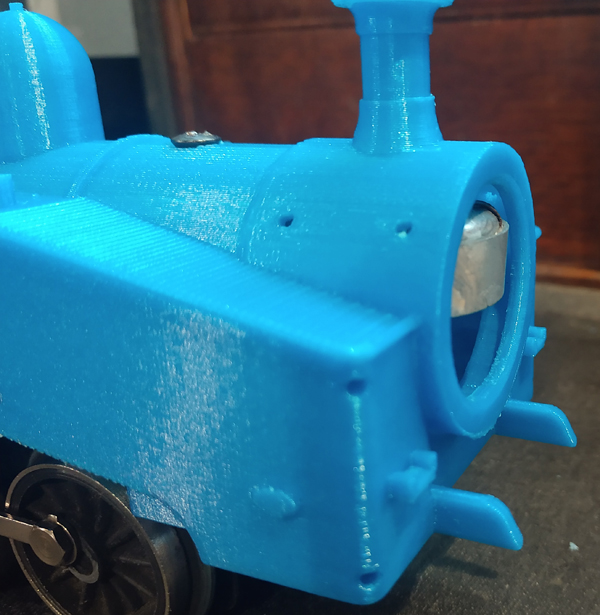
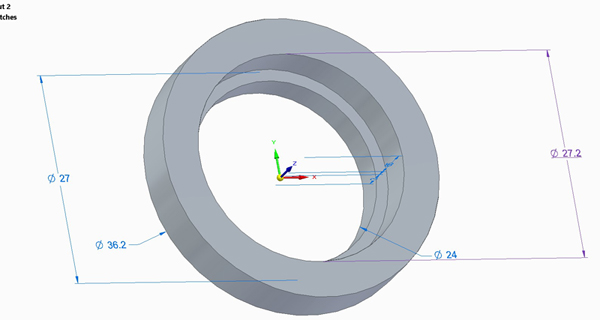
Instead of trying to redesign the smoke box cover, I decided to extend the smoke box by 6mm with an adapter ring. The cover snaps in tight and the adapter snaps into the smoke box. This works well.
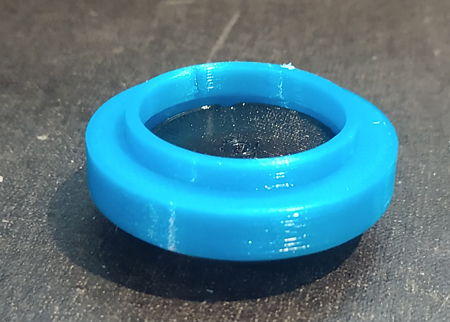
The OD is 36.2mm x 6mm high, It has a 72.2 x 5mm deep counter bore. A 24mm thru hole. The back side is 27mm and 3mm long.
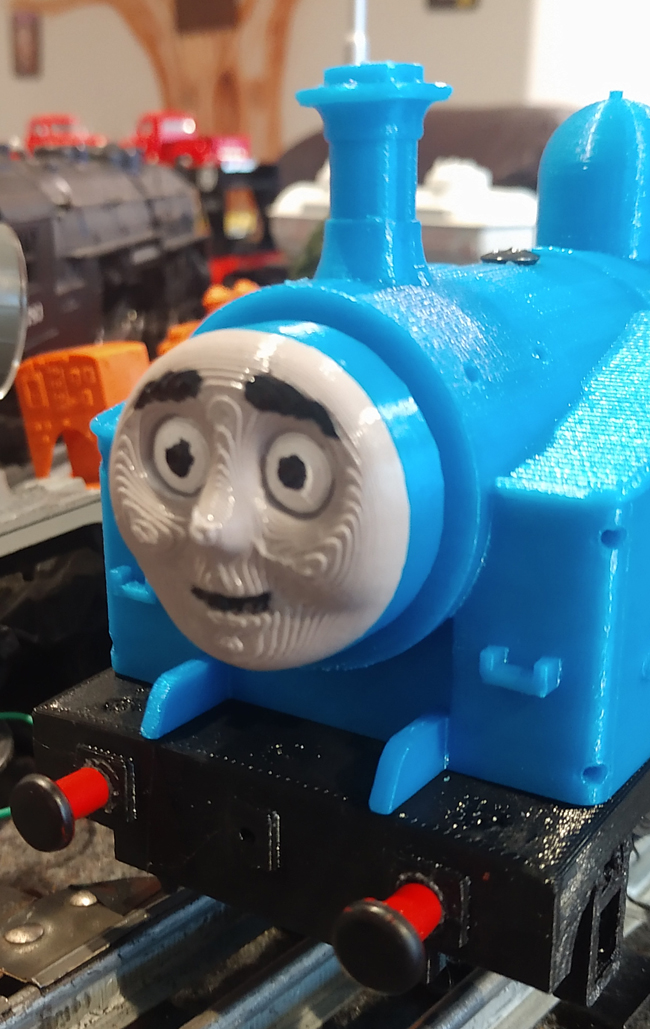
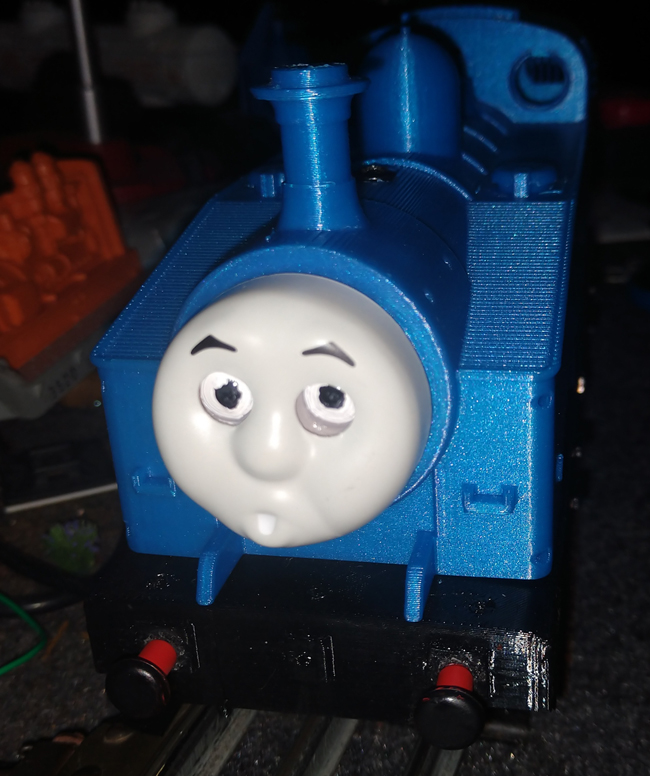
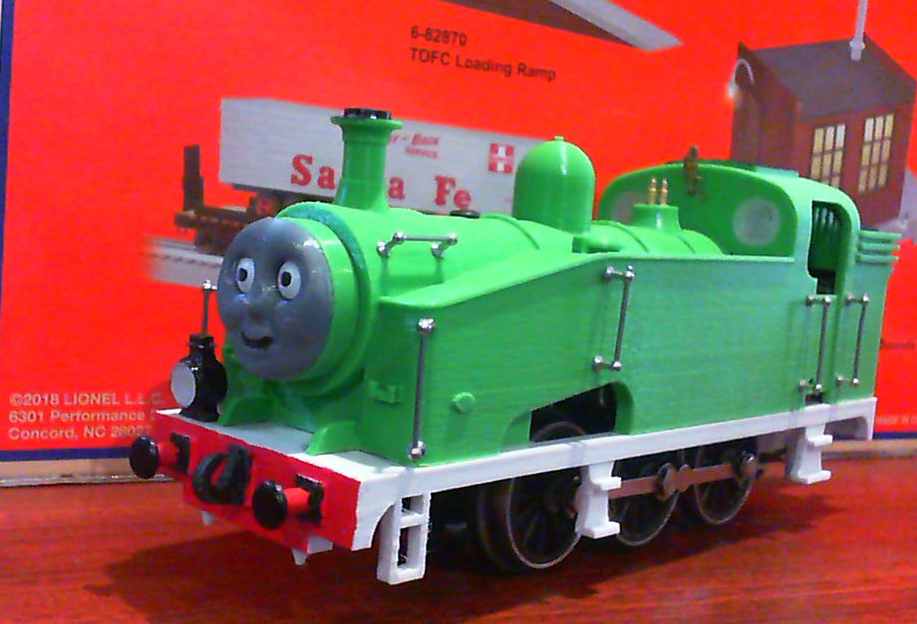
I also wanted to use the face and the various face covers. Printing the face at 153% made it the right size. I made a second extension with 30.5mm outside diameter and adjusted the ID to 22.8mm for press in fit for the face. I also adjusted the rear OD ring fit to 27.05mm. A little makeup paint and I think it looks good. This also shows the bumpers re-used from other engine.
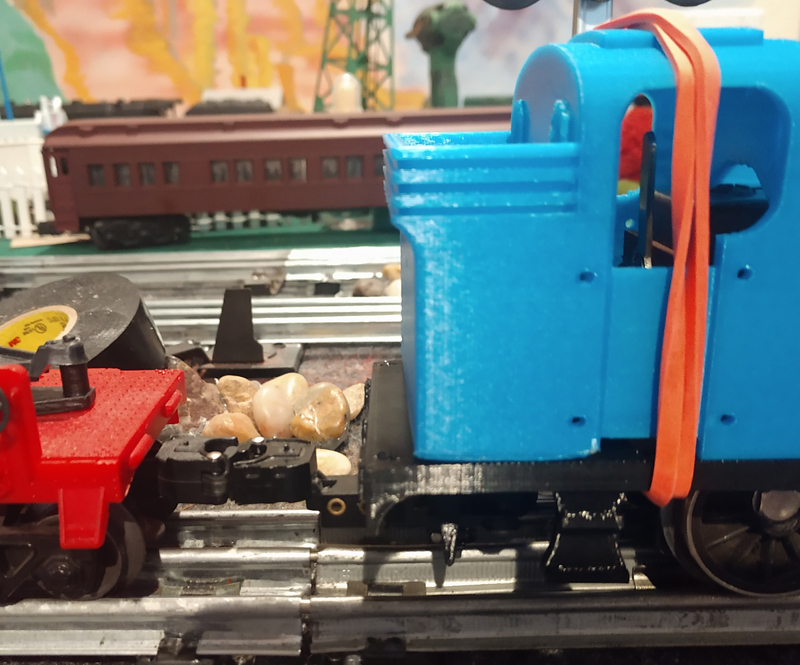
Draw Bar
For a draw bar I used the draw bar from the Lionel, Thomas Tank engine I had. I had to make a 14 x 17.1 x 11mm tall plug for the hole in the back. This gives 0,5mm/.020" clearance for the draw bar. Then grind off the points that were sticking up in the vicinity. When printing the plug the walls need to be 3.0mm thick or very heavy infill. The screws end up being on the seams. Have to be very careful drilling. Also I had to notch out the riser in the back for the pivot pin on the draw bar to clear.
Test fitting
Initial Assembly
I rebuilt the smoke unit for liquid smoke, added a smoke gasket and rebuilt the e-unit. Then I put it together.
Paint scheme is up to you. If you paint the inside of the coal bunker black, then you may be able to re-use the "coal" from the Lionel engine after trimming down the snap in legs.
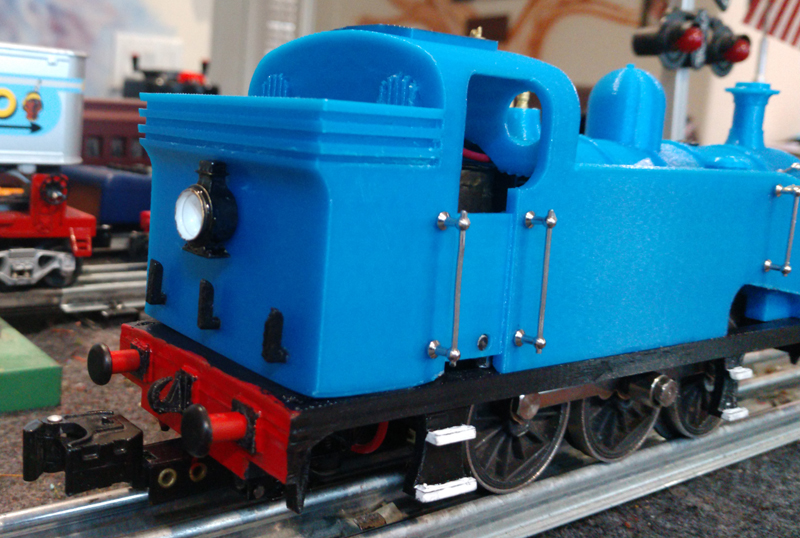
I used the Lionel 700e-70 nickel stanchions for the hand rails. If you drill out the holes using a 5/64" drill, 1.98mm, They will "self tap" as you screw them into the plastic body. The lower holes by the cab will drill into the led weights. At low rpm drill enough depth into the led weights also. The stanchions will thread into the weights. Becoming a second source to hold the weights in.
Top view with coal load
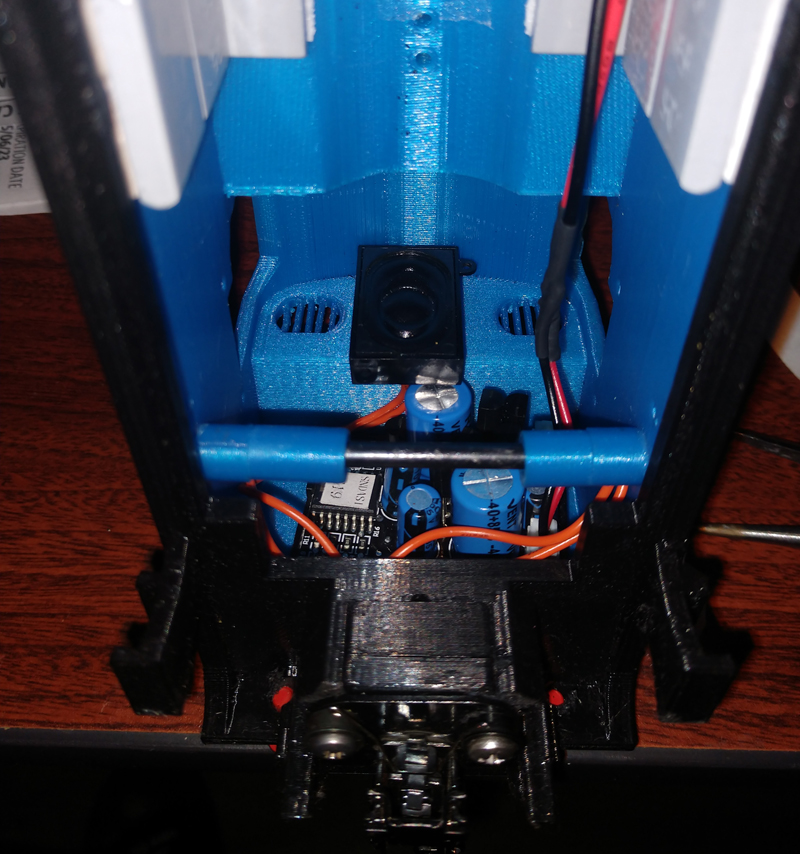
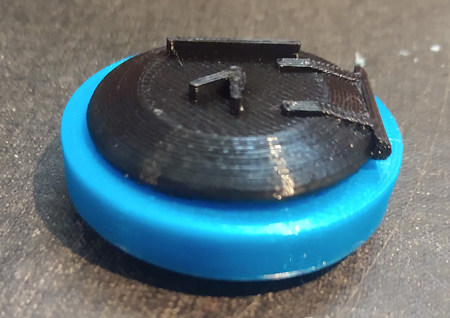
Bottom of the assembly and clearance for smoke unit.
This model is about 20% longer than the Lionel Thomas the Tank, but with similar width and height. The wheel base is a little short for the length, but that is OK for my use. It runs great and pulls 5-6 cars easily with the weights installed. The tall smoke stack puffs out smoke 4-6"/100-150mm in the air. I like it and it has the reliability of a postwar Lionel Engine.
Will I fill, smooth and paint the surfaces? No. The Azure blue looks great and until you get close, the 0.2 mm layers don't show. Grand kids love it. The windows and light lenses use clear PVB. If you want to make them clear, you could. Small LED lights would probably fit in the light also.
If I had to do it again what would I change
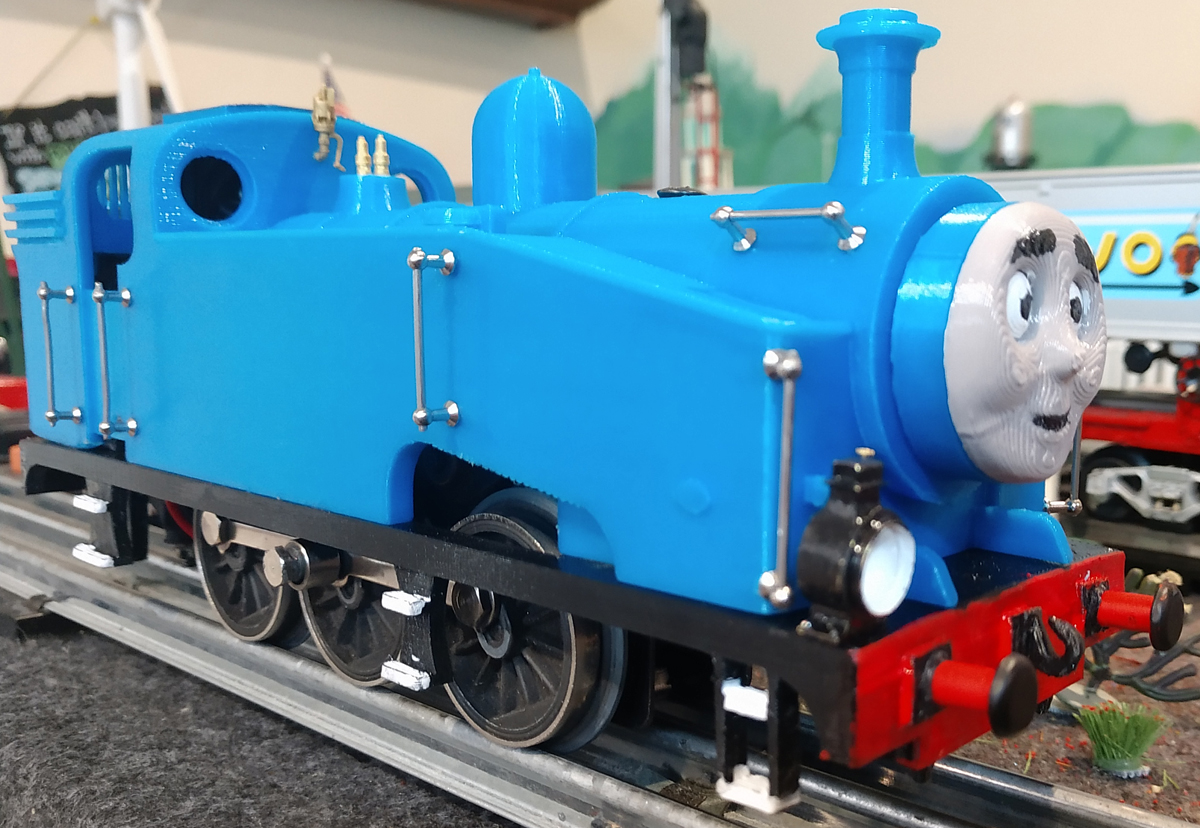
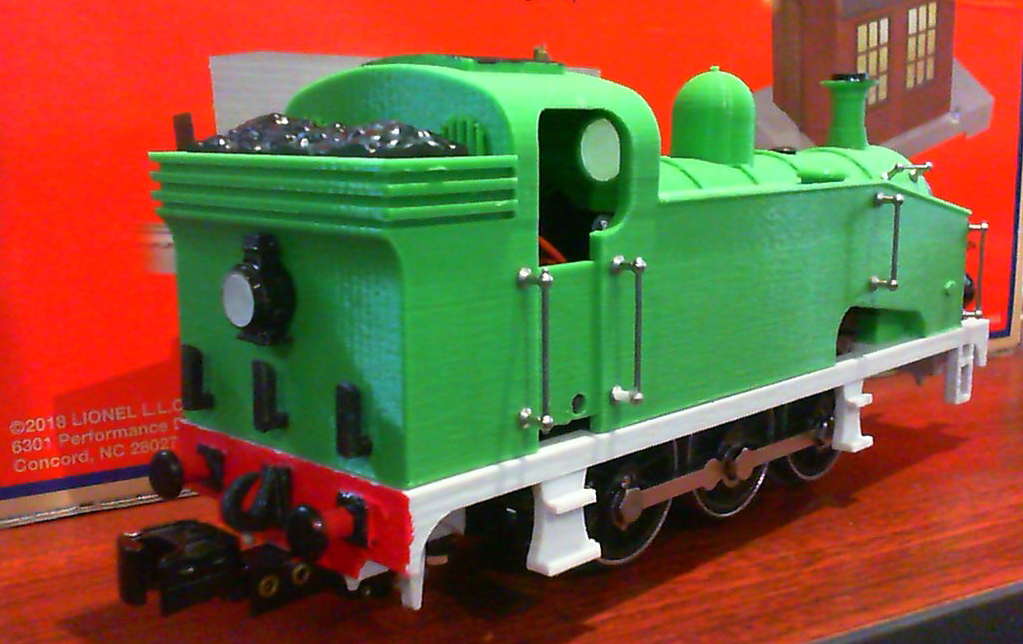
Final Tank Engine and modifications

Parts list
From LNER J50 on printables.com. Printed at 182% and subtracting the 2026 clearance model.
Zip file containing all of my mods and files. Original document of the creator of the J50 in HO and all my added files and modified top/bottom. The top and bottom use the .3mf files since I do cuts to the models and suppress supports in holes. The current Prusaslicer 2.7.1 cannot create new .stl files with these cuts. Maybe in the future.
Parts I designed and printed. PLA unless noted, .2mm
Parts re-used from a Lionel conventional only Thomas the Tank engine. I tested re-using the traction tire wheel but the ID is too big for the 2026 axle.
Lionel parts
Brass parts from Wiseman Model services on Ebay
Last Update Jan 24, 2026