For What Its Worth
Vintage Air Aftermarket AC install on a SBC with a short water pump setup
Under Construction, almost there...
The vintage air kit is a complete kit for installing AC in your 66/67 Nova. The documentation is good, pre-bent fittings and a unit that installs under the dash.The best way I can describe an AC install on a car is that it is a lung transplant. Something you may want to do before final paint and interior work.
I had electric fans for the radiator, but for simplicity in the engine bay, I went beck to a clutch fan. I am not trying to shave time at the track, just have something fun.
When unpacking, each major piece has its own round "made by vintage air" sticker in the documents with the part. DON'T loose them. These are needed for the master warranty sheet.
Blower and vent controls. They work as outlined. In my case I had to fiddle with the wires to the second or middle servo before it started working.
If you need lots of leg room the "under the dash" vents may need to be modified. I put the Left and right vents in the center of the dash, where the radio went. Maybe a little less cooling in the doors area, but it should do. I had a Radio delete plate that I used. Radios may be a thing of the past, ear plugs and Xradio/MP3 player may be my final answer for long drives. I am putting in a console also and the center vents are going in the console.

This also may make the length of 2 1/2" duct hose they give you usable. What they give you for normal installation will work with 0 room for error. I like a little more wiggle room personally. The 2" defroster ducts seem to be a good length.
Documentation is good, but designed for individual pieces. If I had it to do again, I would put all the instructions in page order. By the time you do this you will understand the install better and have a step by step instruction in order.
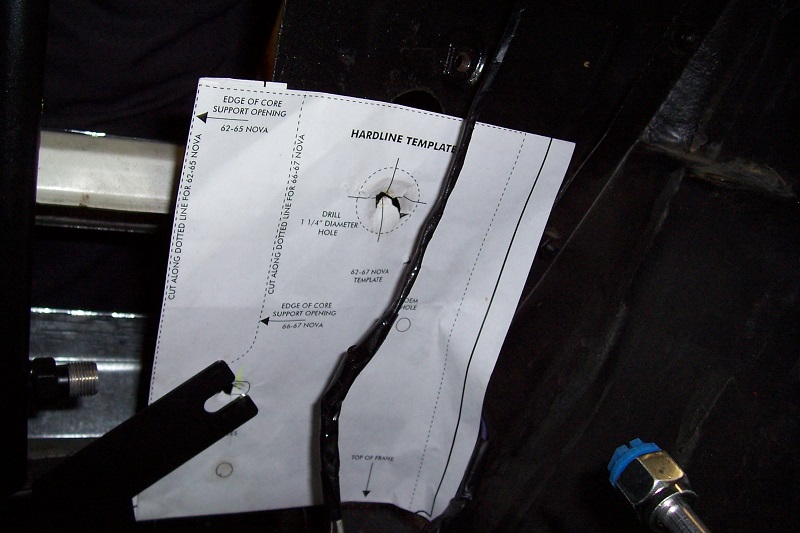
When drilling holes in the radiator support, the template you are to use is used on the engine side of the radiator support. It would be a whole lot easier if it was from the outside, but it isn't.
Mounting the condenser. It took 2 tries for me. The brackets can be a little confusing. Be warned, don't put the radiator back in until all the metal lines are test fitted and routed and you are sure the condenser is mounted correctly in front of the radiator.
The AC duct hoses under the dash. Where they mount to ROUND fittings, all is ok. Where they mount to oval fittings, it may be a problem. They fit loose. Zip ties are recommended. Also the space between the front and back oval fittings is small or very tight.
Some people also suggest silver duct tape to tape the hoses to the evaporator to be sure they don't come loose and to minimize leaks.
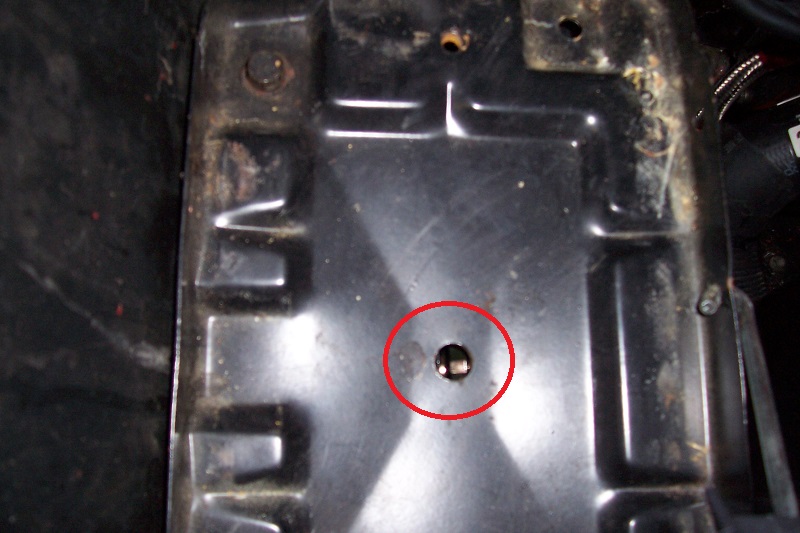
The dryer/filter location is under the stock battery box. The drain hole in the middle of the battery box is right over the pressure switch. Just be aware. You may want to put a covering over the switch.
Make sure the wiper arm from the motor to the wiper clears. It is a tight fit. You may need to zip tie some of the ducting to keep it out of the way. I added a slight "arch" to the wiper arm.
The big bracket for the front of the engine had to have slot for one of the holes enlarged before it would fit correctly. About .100"/2.5mm
I used grommets around the heater hose lines, before putting the sealer around them to seal the firewall. They go through the firewall where the fan motor used to be. Instructions say push the heater hose through slightly. Either way keep the metal line from rubbing against metal.
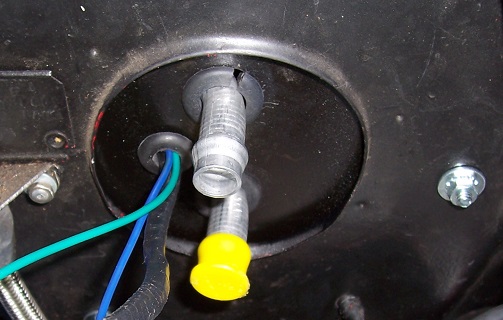
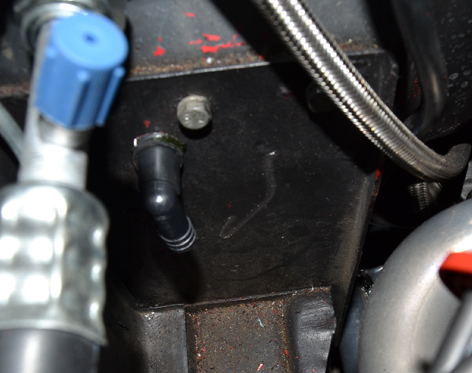
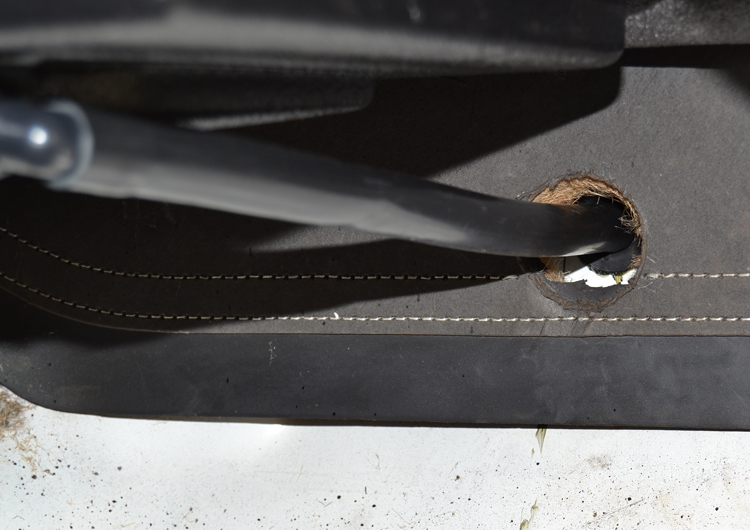
AC lines coming through the firewall
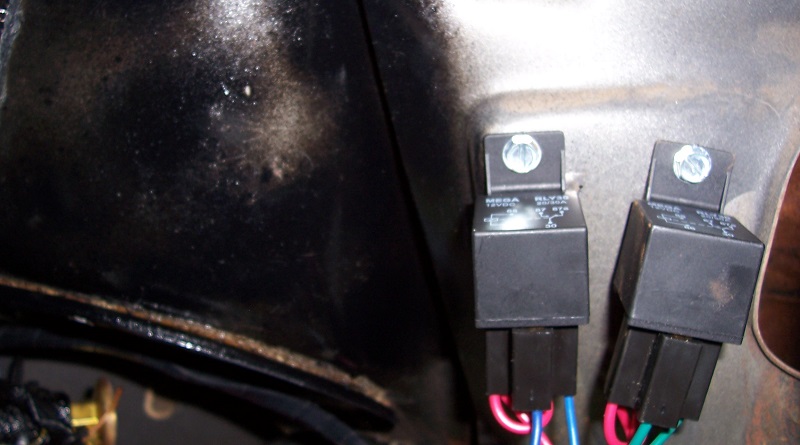
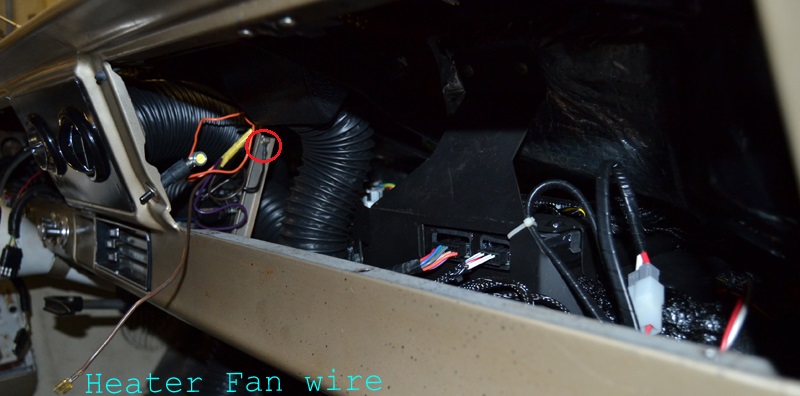
Relays mounted under the dash, to the right of the glove box. The raised area looked perfect for this.
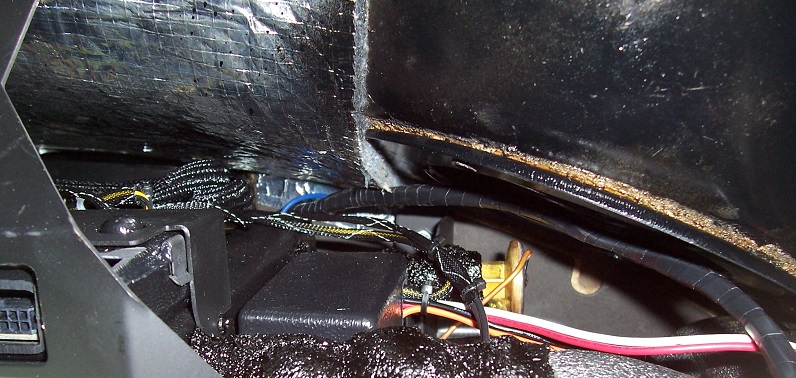
Some pictures of the clearance under the dash. Also the cover over the old air intake hole for the stock heater.
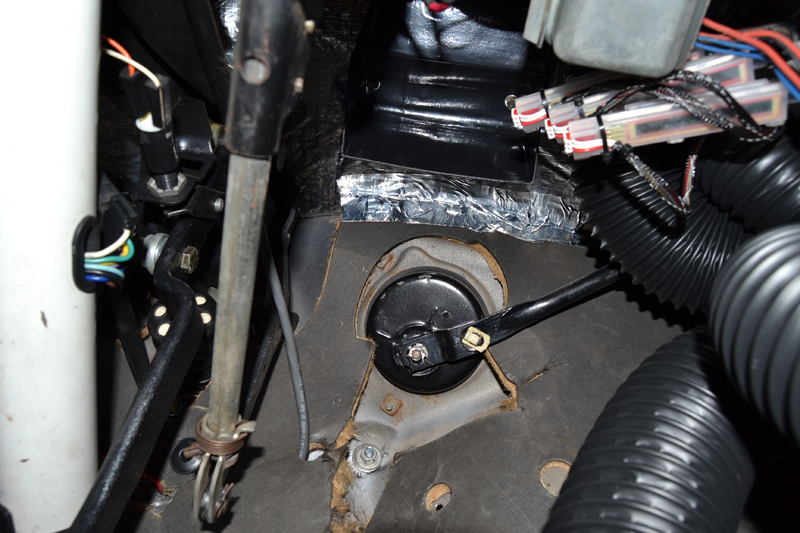
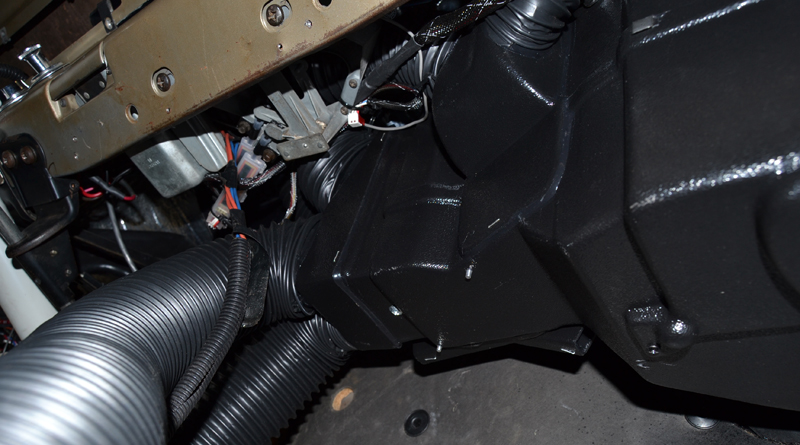
Where the stock style insulation needed to be cut bigger under the dash to fit the new unit, where the fan used to go through the firewall. The new plate for the heater lines etc. goes there now.

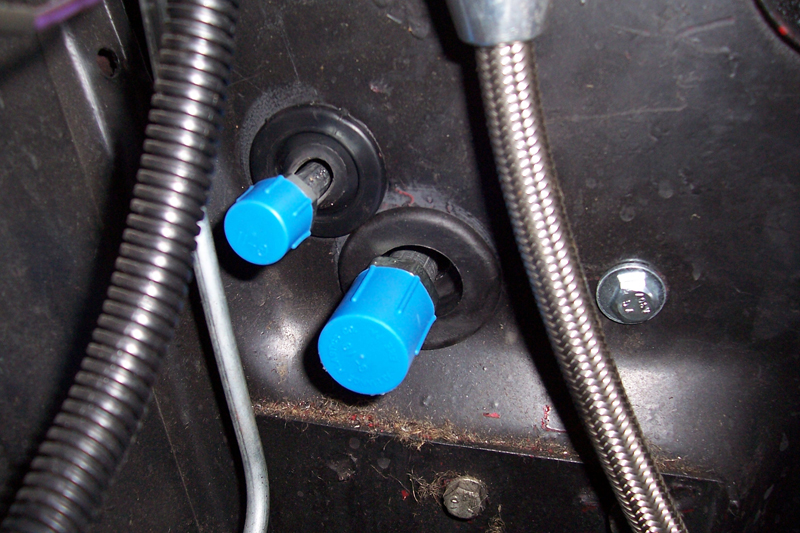
Under the dash, right side AC lines exit here.
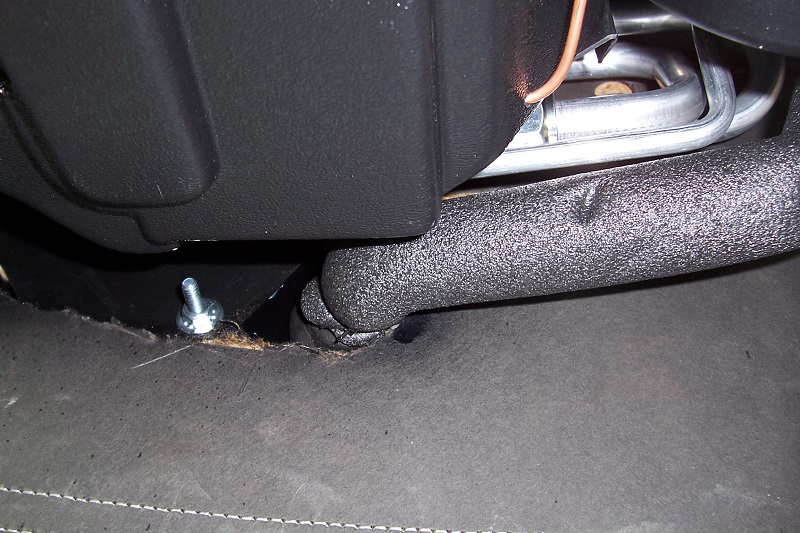
Under the dash.
View from the glove box area. I moved the turn signal flasher and mounted it on the post, circled in the picture below but on the opposite side of the post. This was personal preference so it would be out of the way when I try to get my big hands under there I would knock it around.
In the picture below it shows an LED light for the glove box light. This didn't work. The glove box light is wired backwards, ground center and positive on the outside. Simple switch design but only works with the incandescent bulbs. Some redesign is needed to use the LED.
The brown wire is the heater fan wire which I used as the power source for the under dash unit, violet wire in my unit. I would suggest changing to a smaller fuse for the "heater" in the fuse box. I am using a 5 amp fuse. This should be sufficient based on the wire size. Relays run the high power feed from the battery anyway.
Drain hose installation. The location outlined went right through the stiffener plate behind the firewall. . Be warned it is not "thin" sheet metal you are drilling through. I glued in a grommet to assure a tight seal. Why the 90? Neat and from experience with our 2008 Uplander, it keeps back pressure caused by the fan or road draft from holding the water back and draining on your feet when on the freeway.
Also see the Console Installation.
Back to the 66' Nova page